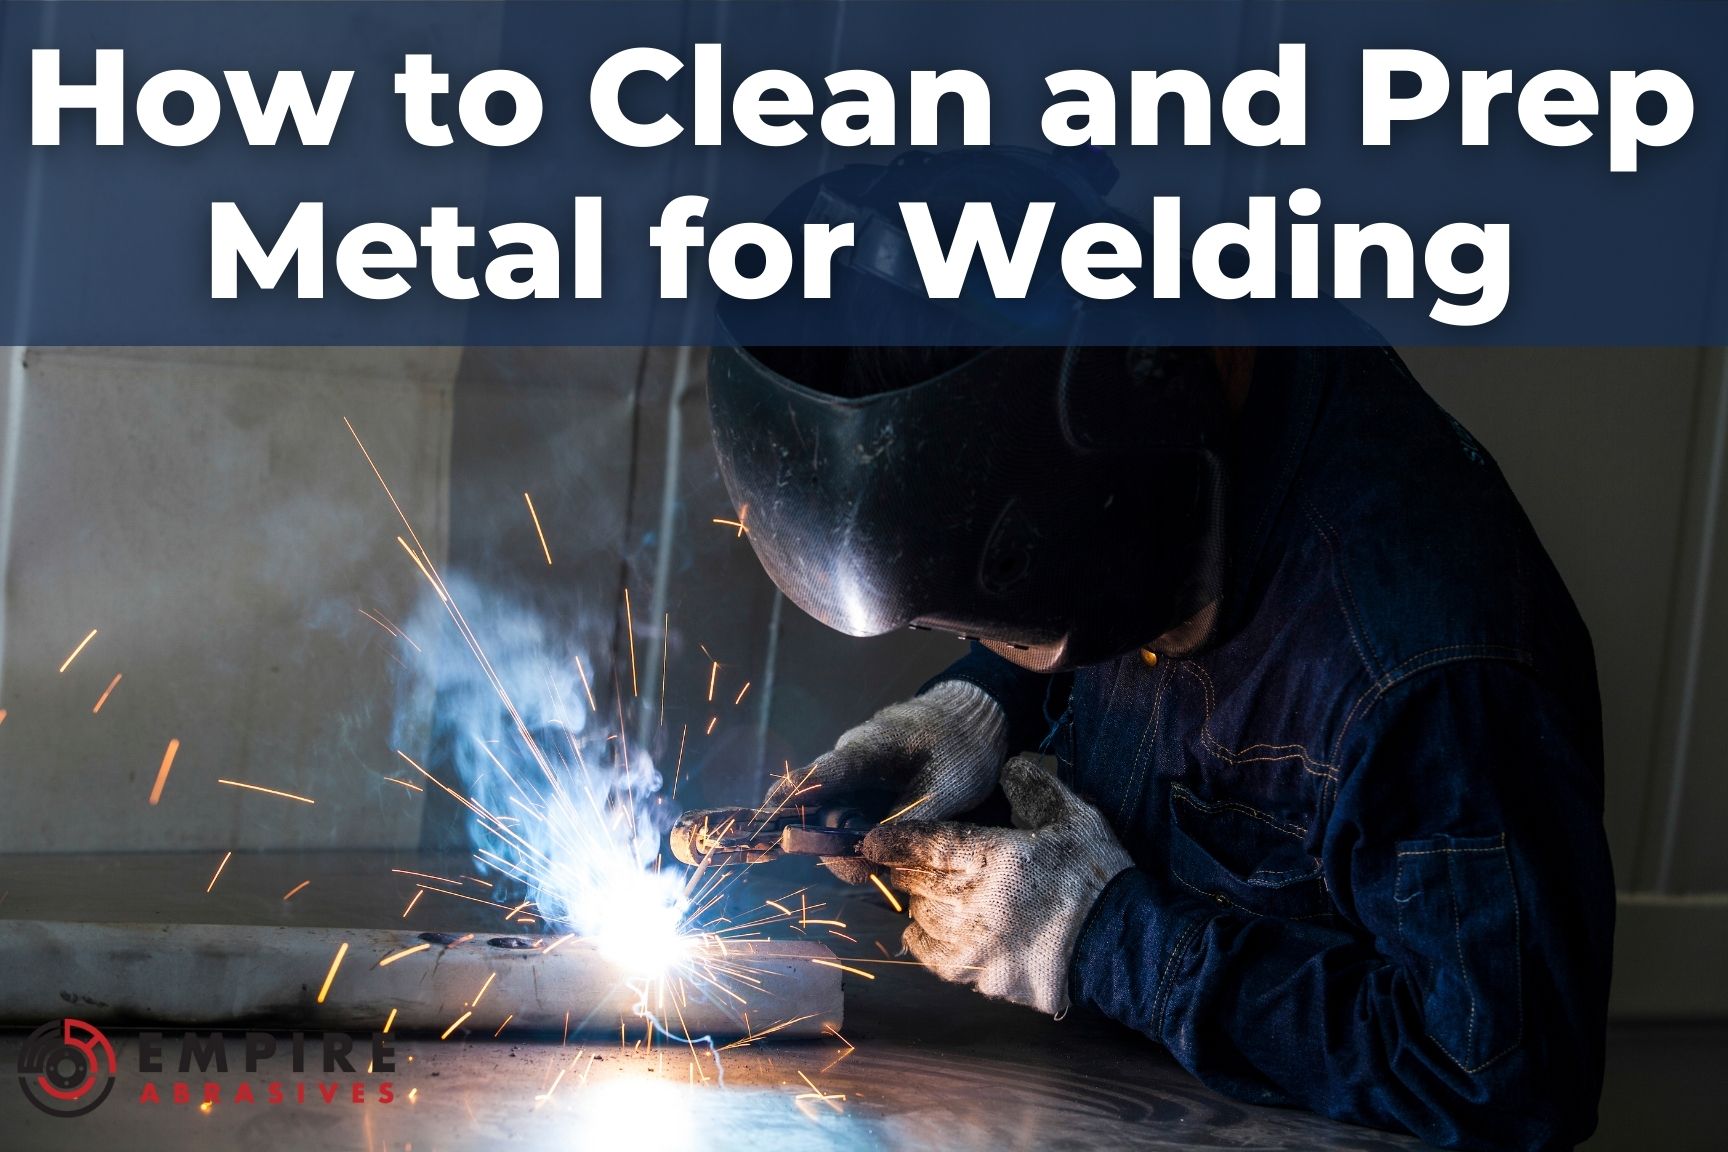
 If you’re serious about your welding skills and want to get the strongest and most aesthetic looking welds, taking the time to prep and clean your metal will make all the difference.
Surface prep before welding is something that some people will see as something that can be skipped, thinking they are taking a shortcut, but doing so can significantly impact the quality of your welds. You should always aim to start all welds with the cleanest surface possible.
What is Weld Preparation and Why is it Important?
In terms of weld clean and prep, this is that step before you start welding where you clean the metal surfaces you are planning to weld together. It is how you avoid “dirty welds.”
In order to get the best possible welds (both strength and appearance) you’ll need the weld to be performed on bare metal without any imperfections or impurities. You want to have a pure metal-to-metal contact when welding.
Anything like dirt, grime, paint, rust, mill scale, or oxidation can be responsible for a weak weld that can easily break and look like junk. A clean surface leads to a clean weld.
Considerations for Metal Preparation
When it comes time to do your weld prep, a few things you need to consider are:
- The type of metal you’re welding
- What kind of material needs to be removed
- How much material you need to remove
The type of metal mostly matters when it comes to aluminum. There are different steps and tools required to prep aluminum to get a proper weld and avoid damaging the metal.
For the type of material that needs to be removed, you’ll need different tools and/or techniques for different material that needs to come off. For example, you would only need acetone to remove some grease instead of taking an angle grinder to it.
If you need to remove a lot of material to even out the surface, then an angle grinder with a flap disc would be great. If it’s just a matter of a bit of mill scale, you can use a wire brush in many cases.
Is Weld Prep the Same for Aluminum Welding?
If you’ve worked with aluminum in any capacity before, you’ll know that it isn’t as easy to work with as most other metals. The same goes for aluminum weld prep.
When you work with aluminum, it is extremely important to avoid embedding any impurities into the metal. This means taking extra steps in the weld preparation process and using tools specifically made for sanding and grinding aluminum. The exact process will be covered in another article on our blog.
How to Prep and Clean Metal for Welding
Once you’ve determined the considerations above, you can have a better idea of what tool to use to get started on your weld prep. The first step is going to be removing excess material on the metal surface.
Some of the most commonly used tools for weld prep include:
- Handheld wire brush
- Sandpaper
- Die Grinder
- Angle Grinder
- Abrasive Blaster
Handheld Wire Brush
These manual tools should be in every welder’s toolbox. They are the perfect tool to prep metal that has thick impurities like mill scale or slag. It is also useful for brushing off flux after welding is completed.
Make sure you use the right type of wire brush for the metal you are cleaning.
Sandpaper
Sandpaper can be used in a similar way as a wire brush. They can be used to quickly remove material and even out a work area. Also like the wire brush, you should make sure that you use an abrasive grain that is suitable for the metal you’ll be sanding.
Angle Grinders and Die Grinders
Most welders will use a 4.5” angle grinder to prep metal and many others prefer a die grinder when working on smaller areas. These two power tools are capable of removing lots of material fast, including the metal you are working on, so be cautious not to grind too aggressively. Below are some of the different tools/attachments for angle grinders and die grinders that can be used for weld prep.
Wire Wheels and Brushes
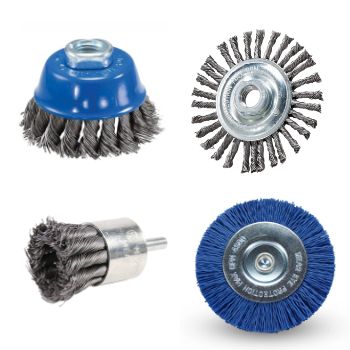
Wire wheels and wire brushes attached to an angle grinder or die grinder can much more aggressively remove material from metal than you would from rubbing a surface with a handheld wire brush. These are typically used when you need to remove mill scale from stainless steel. They are also a better option for working around bolts or uneven surfaces than a sanding disc or grinding wheel.
If you only have a thin layer of mill scale that needs to be taken off and you don’t want to risk damaging the underlying stainless steel, nylon wire abrasive brushes are a great alternative.
For more information:
Strip Discs
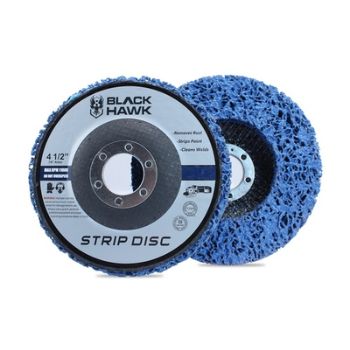
Often thought of just for removing paint, a paint stripping disc is a secret weapon for welders in the know. These are non-woven sanding discs impregnated with abrasive grains making them aggressive enough to remove impurities from metal without damaging the metal itself. They are capable of removing rust, paint, adhesives, bondo, scaling, and oxidation.
For more information:
- 3" Quick Change Strip & Clean Discs (for die grinder)
- 2" Quick Change Strip & Clean Discs (for die grinder)
- 4 ½” Strip & Clean Discs (for angle grinder)
- 5” Strip & Clean Discs (for angle grinder)
Flap Discs
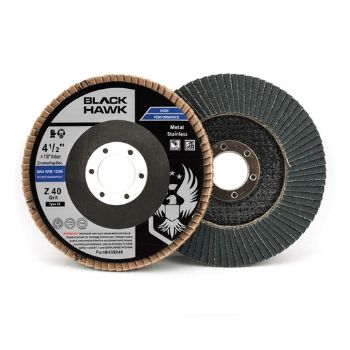
These are a favorite tool for almost all welders. Flap discs are a specially made type of sanding disc that can be used for weld prep as well as cleaning up a weld after it’s been completed. They can quickly remove almost any material from the surface, leaving a clean and level metal to weld on.
Flap discs can be aggressive though, so be cautious not to remove too much underlying material with these.
For more information:
Grinding Wheel
Flap discs would be recommended for more aggressive grinding, but you can use an angle grinder grinding wheel to do weld prep. They will remove the most material and can easily contour the edges of a metal surface, but you do risk removing too much material or causing pits and valleys in the surface.
Wipe Clean
Just because the metal now looks shiny and clean, it doesn’t mean it is necessarily ready to weld on. Any of the abrasive grinding you may have done will likely leave some residue that needs to be wiped away.
Use a clean rag and possibly some acetone to wipe up the are to make sure there are no impurities left on the metal. If you cleaned the surface earlier in the day or any day prior, you should definitely wipe down the surface again since there is always the chance that dust and grime from the environment would have landed on your otherwise clean welding surface since you worked so hard on it.
Final Step - Check for Cracks or Gaps
Once the weld area is ready and clean, it is time to check for cracks or gaps that you either didn’t see before or that were made while grinding the metal. Any cracks or gaps in the weld area should be repaired before welding. If the weld area is not smooth, it can cause problems when you are trying to weld.
If there are any cracks or gaps, use a filler metal to repair them. Once the filler metal has cooled, remove any excess with a grinder.
Still have questions?
We want to make sure you are using the right products for your project, so if you have any questions, our abrasives experts are here to help. We can be reached during regular business hours via email, chatting on the site, or phone


