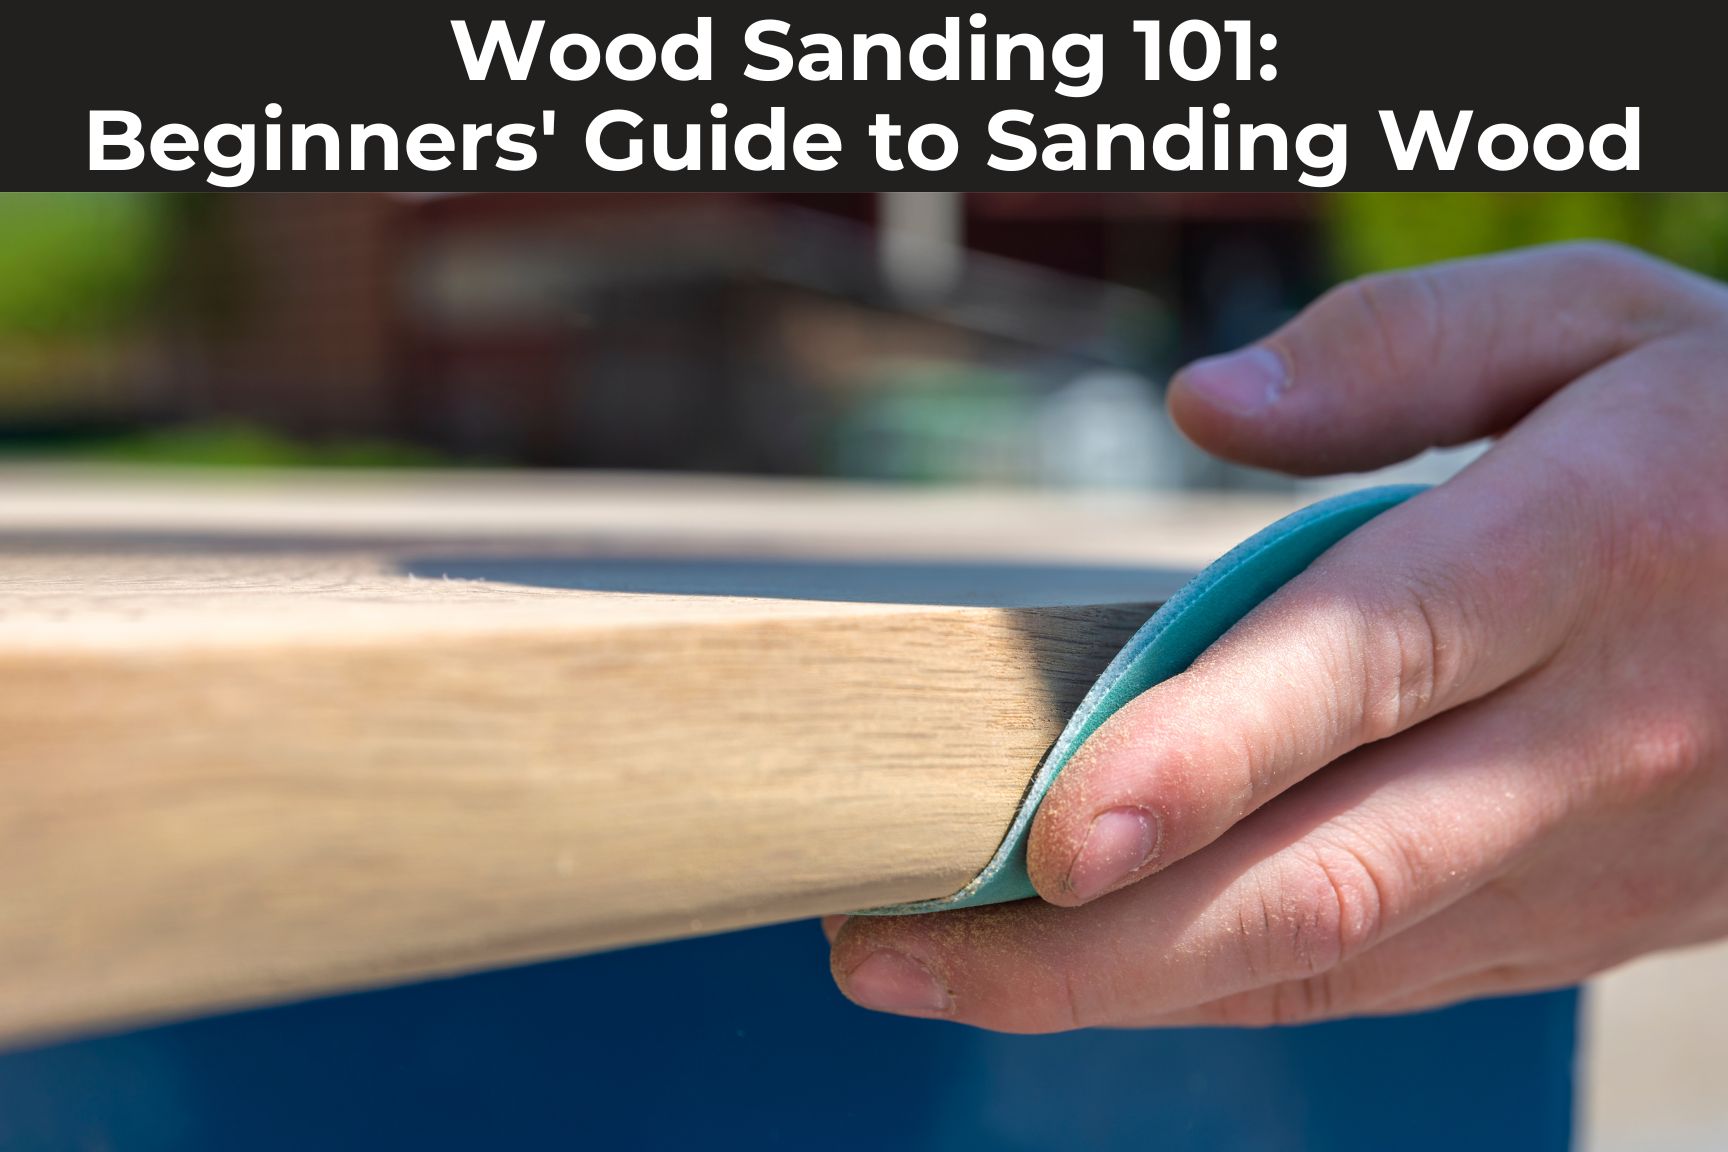
Ask any woodworker or handyperson, and they'll likely tell you that sanding doesn't top their list of favorite parts of completing a project. However, it's one of the most fundamental steps for achieving a flawless finish, free of defects.
Why is Sanding Wood so Important?
First and foremost, it smooths out rough surfaces. If you're thinking about working with untreated wood, all those ridges and knots must go before you slap a coat of paint on it.
Otherwise, you'll wind up with an uneven paint job and, more than likely, an unwelcome splinter surprise.
Secondly, sandpaper is the best defect-removal tool in your toolbox. Wood is a soft material, prone to dents, divots, and splinters that take away from the overall beauty of a finished piece.
Finally, and perhaps most importantly, buffing out the surface preps the wood for finishing. Wood has pores, and sanding opens them up to better absorb paints, stains, and sealants.
Now that you understand why sanding should be non-negotiable, it's time to learn how to do it correctly. Let's dive in!
Types of Sandpaper
Before you start digging out half-torn sheets of sandpaper stuffed in the back of your garage, you need to understand that there are different types, each of which has specific use cases.
Let’s look at three types of sandpaper every DIYer should keep on hand.
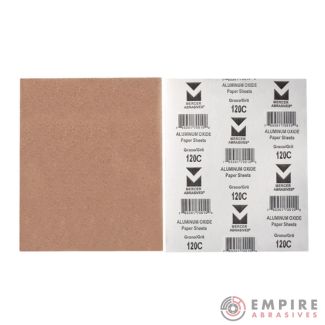
Aluminum Oxide
The tried-and-true aluminum oxide sandpaper is the most common type of sandpaper found in workshops and garages. It’s highly durable, available in a wide range of grits, and can take on just about any task you set in front of it.
While it won’t put a fine finish on projects like silicon carbide and garnet, it exposes fresh grit as you use it, so you won’t have to swap out sheets as often.
Aluminum oxide sandpaper recommended use:
- Bare wod sanding
- Painted surfaces
- Metal work
Silicon Carbide (SiC)
Silicon carbide sandpaper is often found in waterproof options, making it the go-to for wet sanding projects. The sharpness of the particles offers a fine, even finish that gives the final product a highly-polished appearance, whether it’s wood, metal, plastic, or glass.
Some sandpapers combine silicon carbide with lubricating zinc stearate, resulting in non-loading, dry-use-only sandpaper that won’t “gum up” with material sanded away from the material’s surface as you use it. It’s more durable, heat-resistant, and works beautifully on non-wood surfaces like glass and metal.
Silicon carbide sandpaper recommended use:
- Wet sanding
- Glass
- Plastics
- Hard metals
Garnet
When it comes to hand-sanding, garnet sandpaper is a natural choice, meaning the garnet is a material found in nature, unlike the aluminum oxide and silicon carbide use to manufacture sandpaper. It’s made from crushed garnet stones, which provides an incredibly smooth finish.
It’s ideal for projects that require a gentle touch, such as furniture making or detailing, because the garnets aren’t as abrasive as aluminum oxide or silicon carbide. However, that comes at the cost of longevity, as it wears down much faster than other options.
Garnet sandpaper recommended use:
- Hand sanding
- Finishing bare wood
Sandpaper Grits
Now that you know what types of sandpaper for wood sanding, it's time to move on to the proper grit, or the size and amount of the grains of abrasive materials are on each square inch of a piece of sandpaper.
A higher "fine" grit means the particles are smaller, so you can fit more in a square inch, while a lower "coarse" grit means larger particles and fewer of them.
Think of it like the sand at the beach. When you walk barefoot on a fine sand beach, like those in the Carribbean, it feels soft, but still rough enough to scratch up the label on your beer can. That would be a fine grit. Now go north to a beach with larger sand pieces and it feels a lot rougher than the white sands of the Carribbean. That would be a coarser abrasive with a lower grit. If you’re diving for a football on the sand, you’ll come up with less scratches from the fine grit sand in the Carribbean than the coarse sand on a beach further up north.
For a deeper dive into sandpaper grit - Sandpaper Grit Explained
Coarse Grit (40-60)
Coarse grits are the heavy lifters of the sandpaper lineup. With their larger abrasive grains, they can take off a lot of material with every swipe.
They're best for stripping paint or shaping large surfaces, but you must work slowly to prevent damaging the wood. If you have a mishap, you can clean it up with finer grit later in the sanding process, but it’s always best to avoid having to do that extra work.
Medium Grit (80-15)
Once you've done the broad strokes with a coarse sandpaper, you'll want to move on to a more balanced medium grit.
They're versatile enough for various tasks, from smoothing smaller sections of rough surfaces to removing more significant scratches left by the first round of wood sanding.
Fine Grit (180-320)
When it comes to those perfect finishing touches, fine grit is where most people will end up. The small but abundant abrasive grains provide a silky-smooth surface for the finish to sink into.
You can also use fine-grit sandpaper to banish dried drips or bumps between finish coats.
Extra Fine Grit (400-2000)
The extra fine grit sandpaper is what you turn to when you want perfection. It smooths away the any last imperfections and buffs the wood to a highly refined state, perfect for those final finish applications
Sanding Techniques
Before we get into the different types of sandpaper tools, we need to talk about the different techniques you can use to achieve the results you’re looking for.
Hand Sanding
As the name suggests, hand sanding is sanding a surface using manual effort with a sanding block or sponge.
Best Use Cases: Hand sanding is best for small projects, detailed work, and surfaces that require a delicate touch.
Machine/Power Sanding
Machine sanding involves using power tools like belts or random orbital sanders to get your sanding jobs done faster and without achy shoulders the following day. It’s usually a good strategy to start with machine sanding to do the brunt of your work, then move to hand sanding to finish it off.
Best Use Cases: If you're working with a large piece or want to remove as much material as possible as quickly as possible, machine sanding is the way to go.
Wet Sanding
Wet sanding uses water as a lubricant to reduce the friction between the sandpaper and wood. It minimizes dust and prevents gumming up your abrasives.
Best Use Cases: Wet sanding is usually the final stage of woodworking to achieve a perfect finish or between coats of varnish or paint to avoid accidentally scratching the pigments.
Sanding Tools
So, you've selected the best sandpaper for the job, and it's time to get started, right?
Not so fast! You'll need a sanding tool first.
There are plenty of options, some of which are easier to use than others. As a beginner, starting with manual options is better until you get a feel for the process. Once you've moved from beginner to semi-pro, you can confidently invest in a power tool to save some time.
Manual Sanding Tools
Sanding Blocks

Simple, reliable sanding blocks are handheld wood, plastic, or rubber tools. They have lips or clips that hold the paper in place while you use a little elbow grease for sanding down surfaces manually.
They're as simple as sanding tools get.
Benefits
- Inexpensive and available at any hardware store
- Provides better control and precision
- Flat, even sanding
Limitations
- Time-consuming on large surfaces
- It requires a lot of effort, especially when used on large surfaces
Pro tip - If you don’t have an actual sanding block on hand, you can usually get by with wrapping sandpaper around a spare piece of wood you might have laying around your workshop.
Sanding Sponges
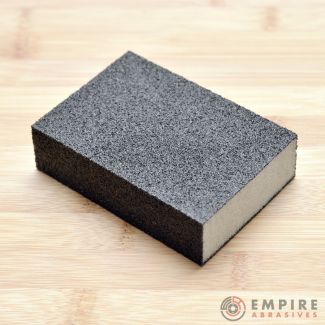
Sanding sponges are an all-in-one abrasive tool of the wood sanding world, with the large foam blocks coated in abrasives. Because they are soft enough to squeeze into nooks and crannies, they're an excellent tool for contoured or detailed pieces.
Benefits
- Can squeeze into places ridged tools can't reach.
- Reusable
Limitations
- Wear out quickly
- Not efficient on large surfaces
Power Sanding Tools
Now we’re moving into the realm of abrasive products made for power tools. So, not technically “sandpaper”, but in the same arena.
Belt Sanders
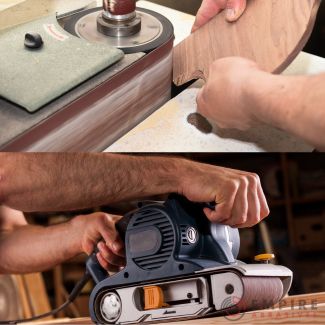
Belt sanders are high powered machines use a looped strip of sandpaper – grinder/sanding belts – to make even the biggest, gnarliest wood defects disappear. They range in size from small handheld versions that use sanding belts as small as 3/8" X 13" to larger popular stationary belt sanders using 2” x 72” sanding belts, and even bigger.
Benefits
- Extremely fast and efficient
- A high-powered solution to tired arms from manual sanding
Limitations
- Doesn't offer as much control as handheld options
- Expensive
- Can burn the surface being sanded if you’re not careful
Random Orbital Sanders
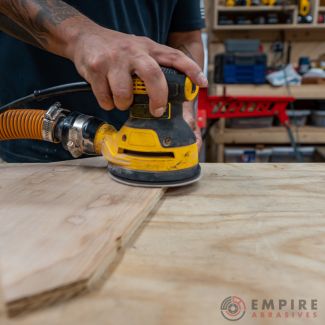
You might've guessed from the name, but random orbital sanders orbit around in an oval path to ensure the abrasives don't cross over the same spot more than once.
They use sandpaper discs that look like CDs, with a hole in the middle to hold the sheet in place. For sanding wood, there are also options that have vacuum holes for removal of dust while sanding.
Benefits
- Enough power to make quick work of stripping large pieces
- Can take care of just about any sanding project you throw at it
Limitations
- More expensive than sanding blocks and sponges
- Requires power to run
Sanding With the Grain
Sanding with the grain is the golden rule of woodworking, which means moving the sandpaper in the same direction as the wood grain. It helps to minimize visible scratches and results in a smoother, more professional-looking finish.
It’s not always clearly visible which way the grain runs on some types of wood. An easy trick for finding the grain is gently dragging the tip of your thumbnail over the wood. You're going the wrong way if it “catches” on the tiny ridges.
Tips for Newbie Sanders
If you’re still feeling overwhelmed at the thought of sanding wood projects, we’ve got you covered with some pro-level tips.
- Always start with the coarsest grit you’re planning to use. It will help you remove the bulk of the roughness, and you can touch up any mistakes with finer grits afterward.
- After the first coarse sanding, gradually work through finer and finer grits for a flawless finish.
- Follow the golden rule: Go with the grain, not against it when sanding.
- It’s up to you how many rounds of wood sanding you do, but remember that each pass removes more material, which can weaken the wood and change the dimensions.
- After each pass with your sanding tool, take a moment to check for defects like missed patches or scratches. They’re easy to see if you wipe the wood down with a lightly dampened towel.
- If you’re doing a lot of sanding, buy it in bulk rolls. There’s nothing more frustrating than wearing out an entire pack while you’re still midway through a project and having to go back out for more.
- Don’t bog down your workspace with sawdust. Letting those little flecks build up can hide defects, and it’s a slipping hazard. You should take a break to clean up – including sweeping the floor – every time you change grits, at the very least.
- Inhaling wood dust is a health hazard. Flying wood particles can severely damage your eyes. Mask up, wear goggles, and wear gloves every time you sand, no exceptions.
- Use even pressure: This is where a sanding block comes in handy. If you are to sand wood surfaces by holding the sandpaper in your hand, you’re more likely to have uneven pressure across the sandpaper. Doing so will leave deeper grooves across the surface where your fingers are pressing down versus the space between your fingers.
- Patience is Key: Don't rush the sanding process. Taking your time and working carefully will always get you much better results than rushing through the job.
- Use a Dust Extractor: If you're using a power sander, consider attaching a dust extractor. It will keep your work area cleaner and make it easier to see what you're doing.
Still have questions?
Our abrasives experts are here to help! Call in, email, or send us a message on the website chat to get answers to any of your sanding questions.

