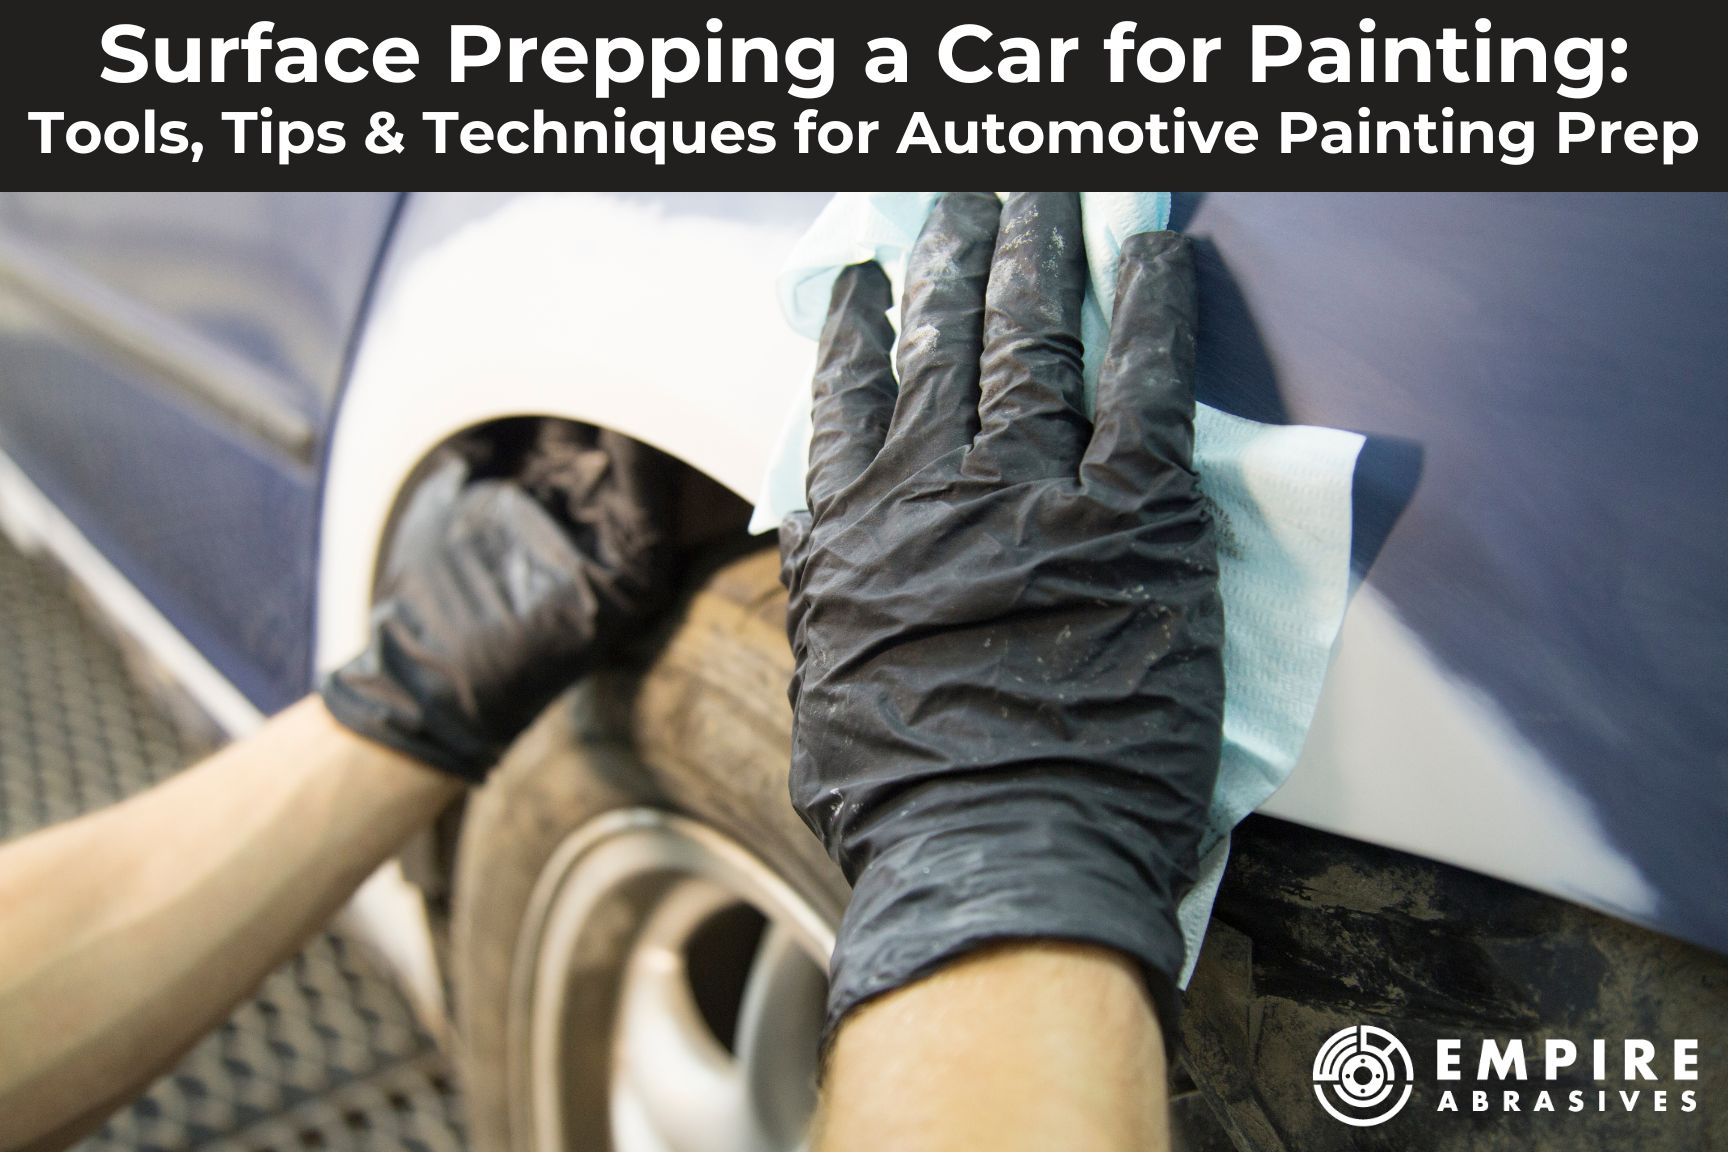
Imagine you spent hours painstakingly applying a beautiful new paint job to your car, only to find bubbles, streaks, or peeling a few weeks later. The likely cause? Poor surface preparation. Proper surface prep is the secret of achieving a truly flawless auto body paint job.
This guide will walk you through the different products and the critical steps of surface preparation in auto body work. We'll cover expert techniques and highlight the advantages of Empire Abrasives products to help you achieve professional-looking results.
The Basics of Auto Body Surface Preparation
Before you think about applying a fresh coat of paint to your car, you’ll need a perfectly clean and smooth surface for the paint to adhere to. Surface preparation involves removing old paint, rust, and other imperfections, then creating a slightly textured surface that will "grip" primer and paint. Done correctly, it's the foundation for a durable and beautiful paint job.
Why Surface Preparation Matters
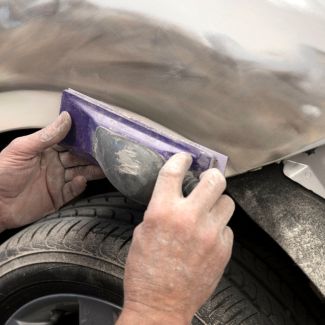 Think of surface preparation as laying the foundation for your paint job. The goal is to achieve a perfectly smooth, clean, and slightly textured surface. Why does this matter?
- Adhesion: Primer and paint need a properly prepared surface to bond fully, preventing future chips, peeling, and unevenness.
- Appearance: Imperfections beneath the paint, no matter how small, will show through the final finish, compromising the overall look.
- Longevity: Without proper surface preparation, your paint job may begin to fail prematurely, leading to the need for costly rework.
Tools of the Trade: Here's what you'll need to get the job done right:
- Sanding tools (orbital sander, sanding blocks, linear grinder, angle grinder, etc.)
- A range of abrasives (we'll detail these below)
- Surface cleaning products
- Masking tape, paper, and other supplies to protect surrounding areas
- Safety products like n95 masks, gloves, and eye protection
Types of Abrasives for Auto Body Surface Prep
Sandpaper Sheets
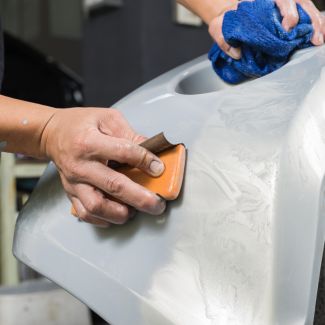
- When to Use: Sandpaper sheets are useful for a range of tasks and getting into tight spaces larger tools can’t reach. They're ideal for:
- Removing Rust: Sandpaper with a coarser grit is perfect for getting rid of surface rust.
- Shaping Contours: Flexible sandpaper sheets can adapt to curves and contours for even sanding across irregular surfaces.
- Initial Sanding Stages: Starting with a coarser grit to strip away old paint and moving to finer grits for a smoother surface.
- Choosing the Right Grit: Sandpaper is categorized by grit number – the lower the number, the coarser the grit. Here's a quick guide:
- Coarse Grits (40-80): Removal of heavy rust, old paint, and rough shaping metal and body filler.
- Medium Grits (100-220): Smoothing out rough surfaces and removing minor imperfections.
- Fine Grits (320-400): Preparing surfaces for primer and creating a slightly textured surface for paint adhesion.
- Very Fine Grits (600+): Suitable for wet sanding between paint coats and achieving an ultra-smooth finish.
- For a more information - Sandpaper Grit Explained
- Pro Tips:
- Sanding Blocks: Use sanding blocks for flat surfaces in order to get even pressure and a more consistent finish.Hand Sanding: Necessary for detailed areas where a sanding block or power tool won't fit.
- Save some money by buying shop rolls of sandpaper if you are doing a lot of sanding.
Sanding Discs
- Advantages of Sanding Discs: Sanding discs, when used with power sanders, offer:
- Efficiency: Cover larger areas in less time compared to manual sanding.
- Uniformity: Provide a consistent finish, reducing the chance of swirl marks.
- Sanding Disc Types and Applications:
- Aluminum Oxide: Common and durable, good for general-purpose sanding.
- Zirconia: Self-sharpening grains provide aggressive cutting action and extended disc life for removing thick materials.
- Ceramic: Harder and longer-lasting, ideal for heavy-duty material removal.
- Silicon Carbide: Great for wet sanding applications.
- Surface Conditioning Discs: More flexible, able to adapt to contours, and are used for rust removal, blending, and light deburring.
- Precision Sanding with Film-Backed Abrasives:
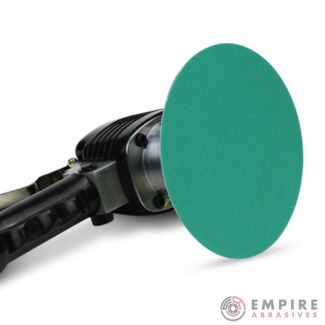
- Film-backed discs like Empire's Green Film Hook & Loop Discs offer several advantages. Their flexible, durable film backing conforms to curves and resists tearing. They're useful for both wet and dry sanding, delivering a smoother finish than traditional sanding discs.
- Pro Tips:
- Orbital Sander Tips: Choose the right size disc for your sander and let the machine do the work - don't apply excessive pressure.
- Avoiding Swirl Marks: Start with a coarser grit and gradually progress to finer grits, sanding in the direction of the grain. Practice overlapping passes and avoid pressing too hard.
- Targeted Sanding: Smaller sanding discs can be used for more control in targeted areas.
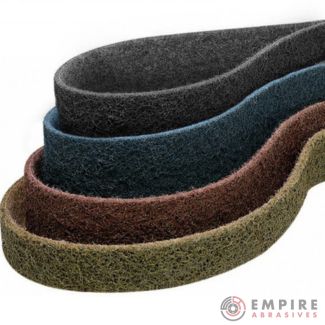
Surface Conditioning Belts
- Where They Excel: Surface conditioning belts are designed for tasks where precision and a fine finish are paramount, such as:
- Metal Prep: Preparing metal surfaces for painting by removing imperfections and creating a slightly textured, ready-to-paint surface.
- Rust Removal: Efficiently removes rust without damaging the underlying metal.
- Blending Paint: Creating a smooth transition between painted and unpainted areas.
- Pro Tips:
- Optimal Angles: Hold the tool at the correct angle to the workpiece to avoid uneven wear and achieve the best results.
- Consistent Movement: Maintain even pressure and movement to avoid creating uneven areas.
Sanding Drums
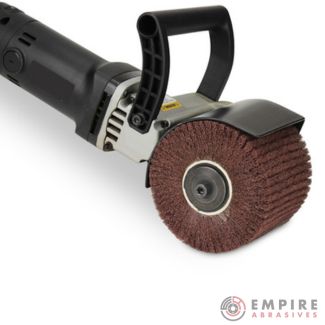
- These cylindrical tools are mounted on linear grinders and burnishing tools, making them ideal for several tasks based on the different types of sanding drum:
- Finishing Drum: For smoothing out rough edges, shaping areas, fine surface finishing, and preparing surfaces for primer or paint application.
- Nylon Wire Brush Drum: Best for removing paint and rust without damaging the underlying surface.
- Easy Strip and Clean Abrasive Drum: Designed for heavy-duty paint and coating removal without damaging the metal surface, providing a clean surface without the use of chemicals.
- Pro Tips:
- Use a Light Touch: Apply gentle pressure and let the drum do the work. Excessive force can lead to gouging.
- Surface Checks: Regularly check the surface as you work with the drums. This helps you achieve your desired result without over-sanding or damaging the material.
- Work in Passes: Overlap passes for even sanding and to avoid creating ridges.
Flap Discs
- Heavy-Duty Prep and Blending: Flap discs are powerful grinder attachments for:
- Material Removal: Quickly grinding down surface material, including old paint, rust, or weld spatter.
- Grinding: Smoothing out welds and preparing metal surfaces for painting.
- Finishing: Achieving a smooth surface ready for paint or primer.
- Three types of flap discs are particularly useful:
- Zirconia Flap Discs: Durable and suitable for rapid material removal on metal surfaces.
- Surface Conditioning Flap Discs: Less aggressive. Great for creating a smooth, uniform finish or for blending surfaces.
- Mini Flap Discs: 2” and 3” flap discs give you greater control for precision smoothing, blending, and light material removal in tight areas.
- Pro Tips:
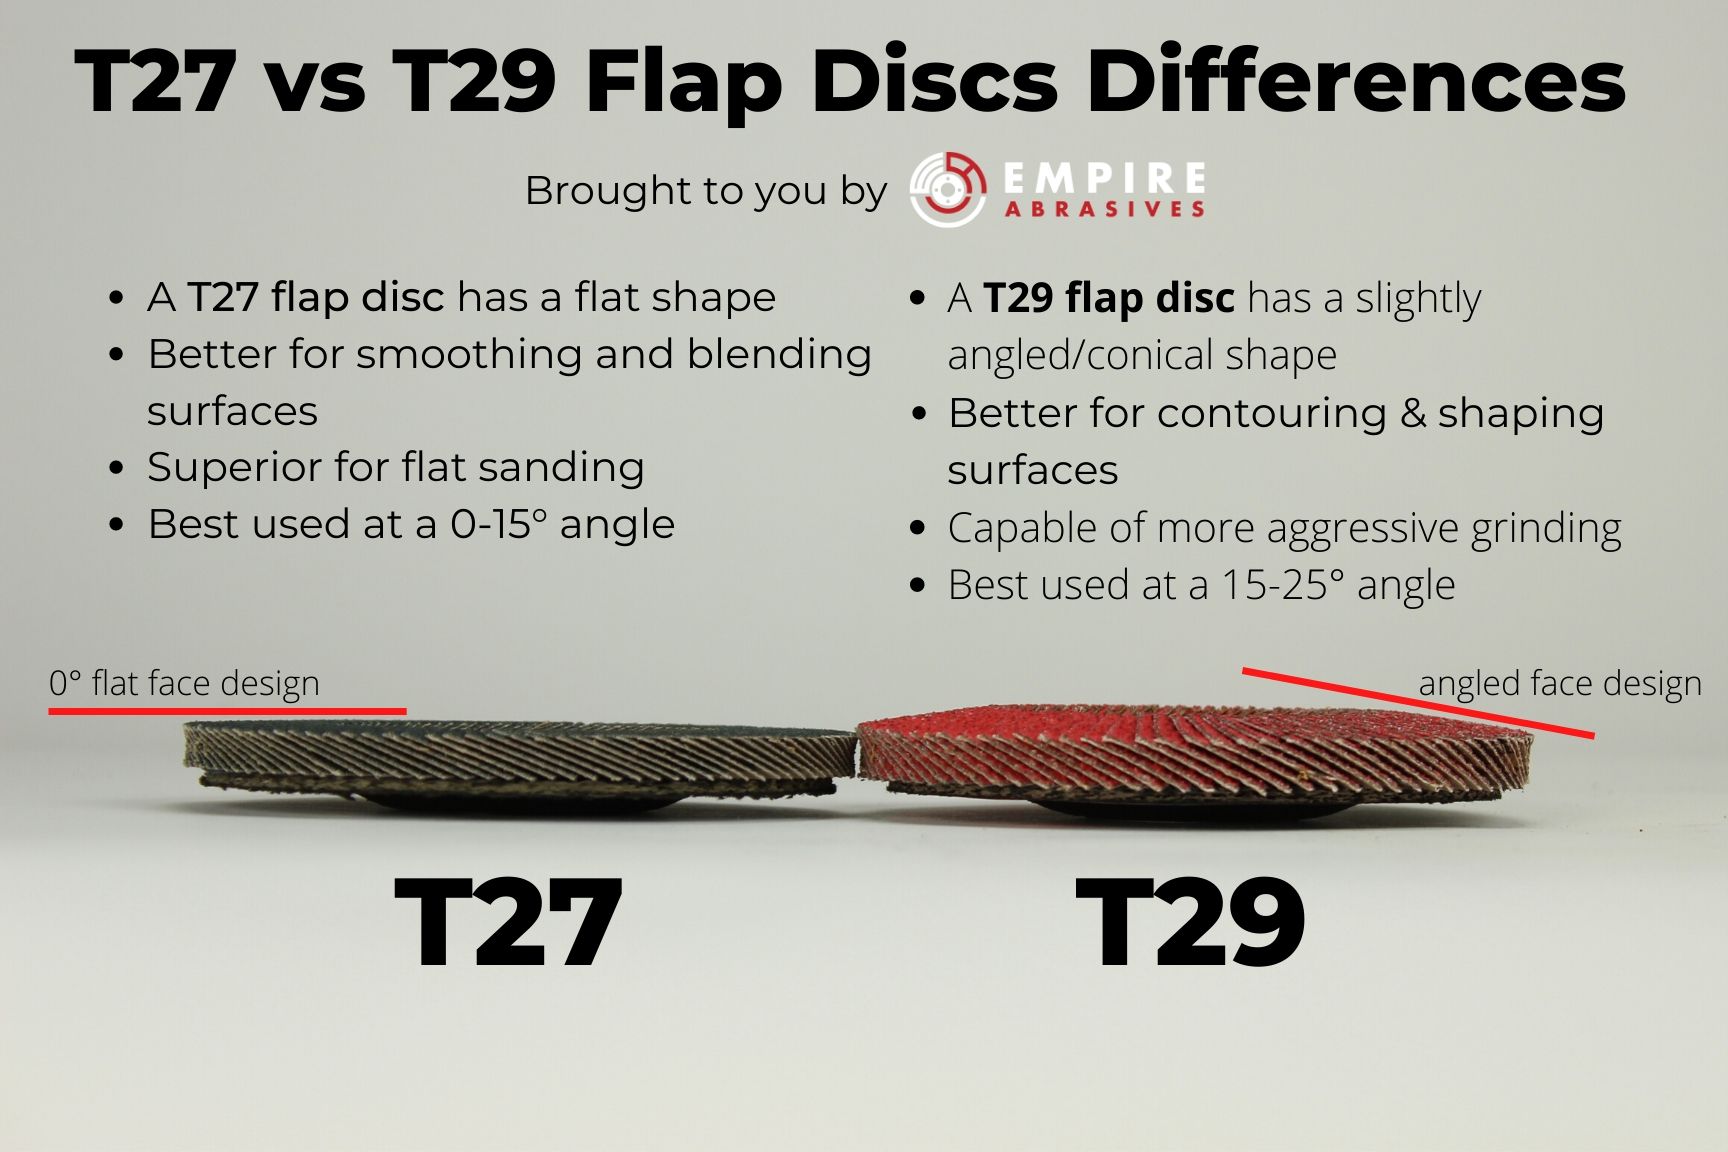
- Flap Disc Types: Use T29 (angled) flap discs for aggressive material removal and shaping, and T27 (flat) discs for smoother blending and finishing. Read more.
- Pressure Matters: Apply consistent, but moderate, pressure to maximize the lifespan of the disc and avoid gouging the workpiece. Let the abrasive do the work rather than forcing it through the material.
Strip Discs
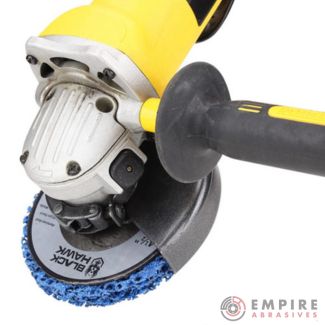
- Quick and Efficient: Strip discs are designed for quickly cleaning and strippng metal surfaces. The blue open web design minimizes heat build-up and resists clogging, reducing the risk of warping the metal during the paint removal process for:
- Paint Removal: Effortlessly strips away layers of old paint, even from curved surfaces.
- Rust and Undercoating Removal: Quickly cleans away rust, undercoating, glues and other adhesives, and scaling for a clean surface.
- Gentle on Surfaces: Unlike more abrasive options, strip discs remove unwanted materials without gouging or pitting the metal below it.
- Pro Tips:
- Surface Check: Make sure the strip disc is okay for the surface you're working on before getting to work on it. Strip discs are excellent for metal but might be too aggressive for softer materials or when fine finishing is required.
- Use Your Angles: Keep the disc at a shallow angle relative to the surface to increase contact area for faster paint and rust removal.
Wire Wheels and Wire Brushes
- When to Use:
- Removing thick layers of paint, undercoating, seam sealer, and heavy rust.
- Stripping surface material when precision isn't critical and some damage to underlying metal is acceptable.
- Prepping areas where heavy pitting, flaking, or scaling is present.
- Types of Wire Wheels and Brushes for Auto Body:
- Wire Wheels: Best for flat and open surfaces where a wider area of contact is desired.
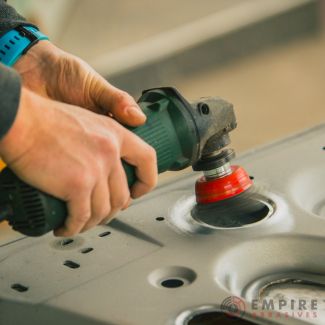
- Wire Cup Brushes: For cleaning and rust removal in tight spaces, inside corners, and around curved areas.
- Wire End Brushes: Best choice for accessing extremely tight spaces and getting into fine details or grooves.
- Metal Bristle Brushes (Handheld): For manual spot cleaning and detail work on smaller areas.
- Pro Tips:
- Always start with a lower speed to assess the impact on the material and gradually increase as needed to avoid damaging the metal.
- Use light, consistent pressure to allow the bristles to do the work, avoiding pressing too hard which can lead to uneven surface wear or damage to the tool.
- Choose knotted wire brushes for aggressive cleaning and rust removal on durable surfaces, while crimped wire brushes are better for lighter tasks and smoother finishes
Longboard Sandpaper
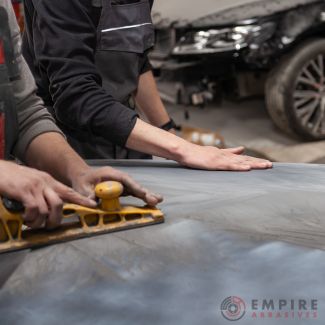
- When to Use: Longboard sanding rolls are popular with autobody workers that save time when used for:
- Smoothing large, flat surfaces to prepare for painting.
- Final sanding before primer application to prep a flawless finish.
- Achieving an ultra-smooth surface on large body panels.
- Pro Tips:
- Avoid sanding in one direction only, as this can cause visible sanding marks.
- Use a tack cloth or vacuum to remove sanding dust regularly to prevent clogging the sandpaper and creating a rough finish.
- Start with gold longboard sandpaper for initial passes to reduce clogging, then switch to green film longboard paper for dry, or preferably wet, sanding, for final touches to get a flawless finish.
Step-by-Step Guide to Effective Surface Preparation
1. Cleaning and Inspection
1a. Initial Cleaning:
Begin by thoroughly washing the vehicle to remove all dirt, grease, and any other contaminants. Use a degreaser or automotive soap for the best results. This step makes sure the surface is clean and ready for closer inspection.
1b. Inspecting the Surface:
Allow the car to dry after the initial cleaning, then carefully inspect the vehicle's surface for rust, dents, scratches, and other imperfections. Use a bright light to highlight any areas that need attention. Mark these areas with a washable marker for easy identification during the prep work.
2. Removing the Old Paint and Rust
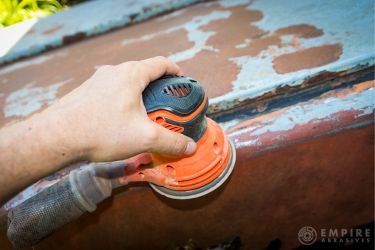
2a. Stripping Old Paint:
Before you put on a new coat of paint, you have to remove the old one. There are several different abrasive tools you can use for this:
- Wire Wheels and/or Brushes - Use for removing thick paint, flaking paint, stubborn coatings, and heavy rust on areas where damage to the underlying metal isn't a major concern. They can be used with a drill or mounted on an angle grinder. Pro Tip: Use a lower speed to avoid overheating and warping the metal.
- Strip-It Discs - Designed specifically for stripping paint, rust, undercoating, and other coatings and adhesives. They're safer on the underlying metal than wire wheels but just as effective.
- Sanding Discs - A common choice for both paint removal and smoothing out the surface. Start with a coarse grit for paint removal and gradually move to finer grits for smoothing. Pro Tip: Use an interface pad with your disc for contours and edges to ensure even pressure and prevent gouging.
- Sanding Drums - Use for removing paint, rust, or other coatings on larger curves and moderately contoured surfaces.
- Sandpaper Sheets - Use for getting into tight spaces, precise detail work, and smoothing out areas where larger tools can't reach.
- Longboard Sandpaper - Excellent for achieving a perfectly level surface across larger, flat areas. Can be used manually with a longboard sander or get the job done faster by attaching it to a straight-line air sander. Pro Tip: Gold stearate coated longboard sandpaper is a favorite among autobody professionals since it reduces clogging and dust build-up for smoother finish.
For more information - Stripping Car Paint at Home
2b. Addressing Rust Spots:
If there was rust on the vehicle, some of it was likely removed while stripping the paint in the previous step. Rust is going to be a bit more stubborn than the paint and will require some extra work to remove it fully. Any signs of rust need to be thoroughly removed to prevent future corrosion under the new paint. The choice of tool here again depends on the extent and location of the rust:
- Start with wire wheels or brushes for heavy rust, especially in less accessible areas or where rust has significantly pitted the metal. Pro Tip: Angle the tool slightly to attack the rust more effectively without digging into the metal.
- For finer rust removal or for areas already treated with a wire wheel, sanding discs and sanding drums with a finer grit can be used to smooth the surface and ensure complete rust removal. Pro Tip: Gradually decrease the grit as the surface becomes smoother to prepare it for priming.
- Sandpaper Sheets and Longboard Sandpaper are excellent for the final touch-ups on rust-affected areas, especially after treating them with a rust inhibitor. Tip: Use these for hand sanding to achieve a smooth, primer-ready surface, blending the treated spots with the surrounding metal.
For more information - How to Remove Rust From Metal - From Natural DIY to Power Tools
3. Smoothing and Finishing
After the old paint and rust spots have been taken care of, the next crucial step in surface preparation is smoothing and finishing. This phase gets the vehicle’s surface perfectly smooth and ready for the primer and paint. Doing this step correctly directly influences the final appearance and durability of the paint job. Here's how to approach it:
3a. Smoothing Rough Areas
Once the old paint and rust are gone, it's time to focus on creating a perfectly smooth surface that's ready to accept primer and paint. Here's where finer abrasives take over:
- Medium Grit Sanding: Start with a medium-grit abrasive (around 120-180), such as sanding discs or longboard sandpaper, to smooth out the rough areas. This grit level is abrasive enough to quickly smooth out imperfections without creating new scratches that are too deep to easily remove.
- Gradual Grit Progression: After addressing the most significant imperfections with medium grit, gradually towards finer grits (like 220-320) to get the most even and smooth surface possible. This step-by-step refinement helps in removing any scratches left by the coarser grits and prepares the surface for a fine, smooth finish.
- Consistent Pressure: Whether using power tools or hand sanding, apply consistent pressure to avoid creating dips or gouges in the surface. A smooth, even surface is critical for the primer and paint to adhere properly and look their best.
Remember: Take your time with the smoothing process. Any imperfections left at this stage will become visible after you paint. Invest the effort here for a professional-looking finish.
3b. Final Sanding for Paint Prep
The last step in surface preparation is a final sanding pass, which is a crucial step so that the primer and paint will adhere well and look smooth.
- Fine-Grit Abrasives: Switch to fine-grit sandpaper sheets or sanding discs (400 to 600 grit) for the final sanding. This will remove any remaining minor imperfections and scratch marks, leaving a smooth surface that’s ideal for priming.
- Hand Sanding for Final Touch: For the ultimate finish, consider hand sanding with ultra-fine sandpaper (800 to 1000 grit) or even wet sanding with a higher grit depending on the specific requirements of the paint system you're using. This allows for precise control over the pressure and direction of sanding.
- Clean Surface Thoroughly: Before moving on to priming, make sure the surface is entirely free of dust, oils, and any residue from the sanding process. Use a tack cloth or a mild solvent wipe-down to ensure the surface is clean. A clean surface is extremely important for primer and paint to adhere correctly and for achieving a professional-quality finish.
Pro Tip: When aiming for the highest quality finish, lighting is key. Use direct and angled lighting to inspect the surface from multiple directions. This helps in identifying any remaining imperfections that need to be addressed before moving on to the priming stage.
Advanced Tips and Techniques
Wet Sanding vs. Dry Sanding
When to use each technique for optimal results:
- Wet Sanding: Ideal for the final touches before applying primer or between coats of paint to achieve an ultra-smooth finish. It's especially useful for reducing scratches and minimizing dust. Use wet sanding with higher grit sandpaper (800 to 1500 grit) to refine the surface without leaving behind dust particles.
- Dry Sanding: Best suited for the initial stages of paint removal and rust treatment. It’s faster and more aggressive, making it perfect for shaping, leveling, and removing larger imperfections. Start with lower grits (40 to 320 grit) and progress to finer grits as the surface begins to smooth.
Pro Tips:
- Always use a spray bottle with clean water for wet sanding and keep the surface moist to avoid scratches.
- For dry sanding, ensure adequate ventilation and wear a dust mask to prevent inhalation of particles.
More information - What is Wet Sanding / Wet Sand FAQ
Dust Extraction and Control
Importance of dust extraction for health and achieving a clean work environment:
- Continuous dust extraction is vital not just for your health and safety, but also for preventing dust particles from settling on the surface, which can lead to imperfections in the paint job.
- Utilizing a dust extraction system or a sander with a built-in vacuum can significantly reduce airborne particles, making cleanup easier and ensuring a cleaner work environment. Sanding discs with holes are designed to work with sanders that have vacuum attachments.
- Always wear a respirator when sanding.
Choosing Between Mechanical and Manual Sanding
Tips for selecting the right sanding method:
- Machine Sanding: Use mechanical/power sanders for large, flat surfaces where uniformity and speed are key. It's great for bulk removal of paint and material.
- Manual Sanding: Best for detail work, edges, contours, and areas requiring a delicate touch. Manual sanding gives you control over the pressure and direction, preventing over-sanding.
Using a Sanding Block
Benefits of using a sanding block for even pressure and smoother results:
- A sanding block distributes pressure evenly across the sandpaper, reducing the risk of leaving behind marks or gouges that can appear in the final paint job.
- It helps in achieving a uniform surface faster than hand sanding alone, especially on flat areas, and improves the efficiency of your sandpaper by fully utilizing its surface.
Final Preparations Before Painting
Applying Primer
Recommendations for applying primer for best adhesion:
- Choose a primer compatible with your topcoat paint to guarantee optimal adhesion and color rendering.
- Apply the primer in thin, even coats, allowing each layer to dry thoroughly according to the manufacturer’s instructions. This prevents runs and sags, and ensures a smooth base for painting.
- For the best results, lightly sand the primer with fine-grit sandpaper (600 to 800 grit) before applying the topcoat. This step enhances the bond between the primer and paint layers.
Final Inspection and Cleaning
Before painting, do one last check to make sure the surface is perfectly clean and ready:
- Conduct a thorough final inspection under good lighting to check for any imperfections or missed spots. Address these areas with fine-grit sandpaper as needed.
- Clean the surface thoroughly to remove all dust, oils, and residues. A tack cloth is ideal for picking up the finest particles, while a mild solvent wipe-down can remove any lingering contaminants.
- Mask off any areas not to be painted with high-quality masking tape and protective paper or plastic. This prevents overspray and helps you get crisp paint lines.
Pro Tip: Before applying the final coats of paint, go over the surface with a tack cloth one last time just to be 100% sure it’s free of any dust or particles that could ruin an otherwise perfect paint finish.
From Prep to Perfection
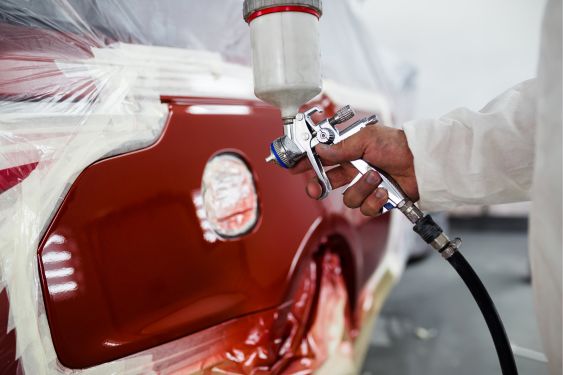
Remember, surface preparation is a process that takes patience and attention to detail. Investing the time and effort here will set the stage for a long-lasting and beautiful paint finish. By choosing the right tools and techniques from Empire Abrasives, you'll streamline this process and achieve results you can be proud of.
Empire Abrasives has all the abrasive products you need for flawless auto body surface preparation. If you have any questions or would like advice from our team, don't hesitate to contact us.

